Although Microsoft introduced lots of visual changes with Windows 10, still it’s never enough to satisfy all customization needs. Although Windows 10 lets you change the taskbar color, set custom icons, change themes, etc. However, you can’t change the default style of the Start Menu. The Start Menu of Windows 10 is a little buggy, and sometimes it fails to load. So, in this article, we have decided to share a working method to change the default style of the Windows 10 start menu.
How To Change the Default Style of Windows 10 Start Menu
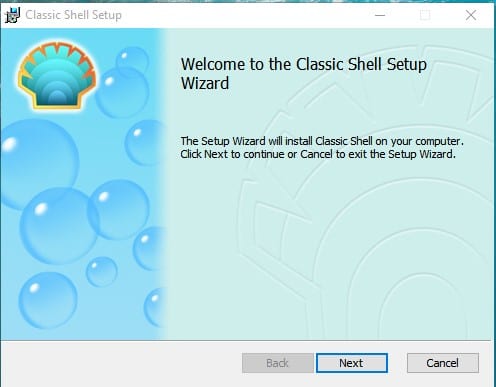
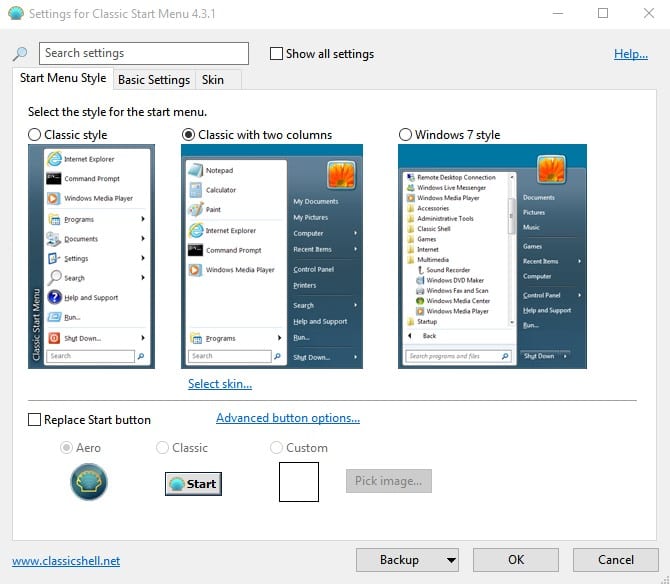
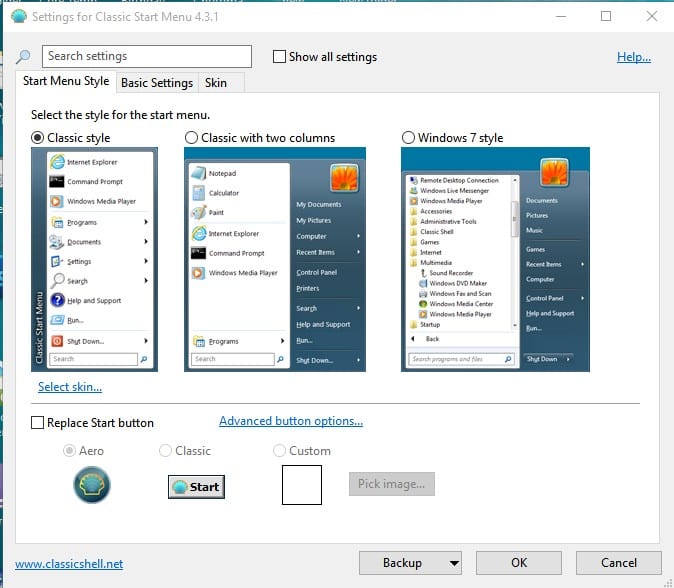
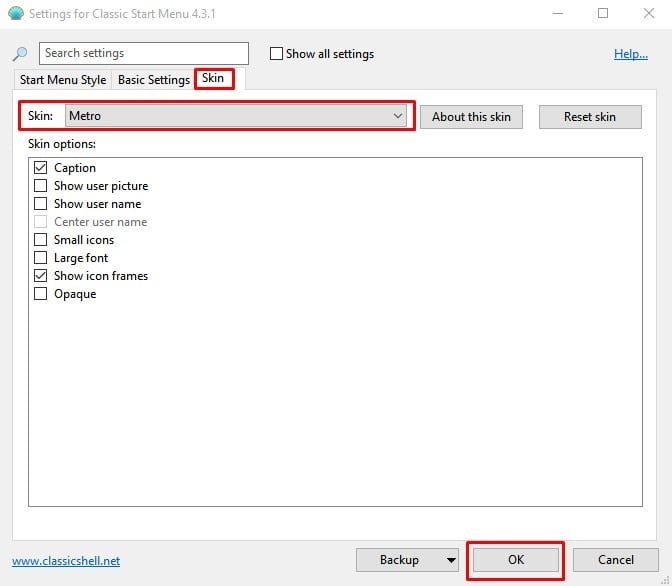
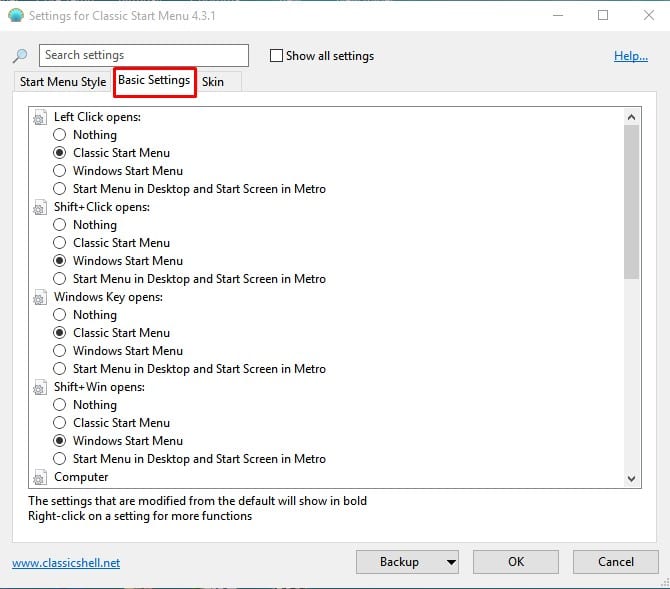
With this method, you will be able to get Windows 7 type Start Menu on Windows 10 computer. Not only that, but you can even apply the Classic Windows XP type start menu on Windows 10. So, let’s check out how to change the style of the start menu. Step 1. To change the default style of your Windows 10 Start menu, you need to install an application known as ‘Classic Shell‘ Step 2. Once installed, open the tool, and you will see an interface like below. Step 3. Now you will be asked to select the style for the start menu. Select as per your wish. Step 4. Now you need to enable the option ‘Show all settings’ Step 5. You will now see additional customization options like ‘Replace Start Button’. Here you can choose your own icon. Step 6. To change the skin of the Start menu, head to the ‘Skin’ tab, and select the skin from there. Step 7. You can also explore the ‘Basic Settings’ page to explore more customization options. That’s it! You are done. This is how you can change the style of the the start menu. So, this article is all about how to change the style of the Start Menu. I hope this article helped you! Share it with your friends also.
