Thumbnails for your files on Windows 11 were generated automatically to show you a preview of the media files or document. This saves you the need to rename or open files to know what’s inside them. Whenever you open a folder containing images, videos, or documents, Windows 11 picks the thumbnail directly from the thumbnail database and shows it to you. While the functionality is useful, the thumbnail cache is prone to corruption. If the thumbnail cache file gets corrupted due to some reason, the file thumbnails won’t load, and you will face missing thumbnail issues. If you are already dealing with thumbnail-related problems on your Windows 11, the chances are that the thumbnail cache database has become too large or it’s corrupted. Also read: How to Make and Receive Android Phone Calls from Windows 11
3 Ways to Clear the Thumbnail Cache in Windows 11
So, to fix the missing thumbnail issue on your Windows 11, you need to clear and reset the Thumbnails cache. Below, we have shared a step-by-step guide on clearing and resetting the Thumbnails cache in Windows 11. Let’s check out.
1) Enable Thumbnails via File Explorer Option
If you are experiencing a missing thumbnail issue in Windows 11, you need to ensure that Thumbnails are enabled on your system. Here’s what you need to do.
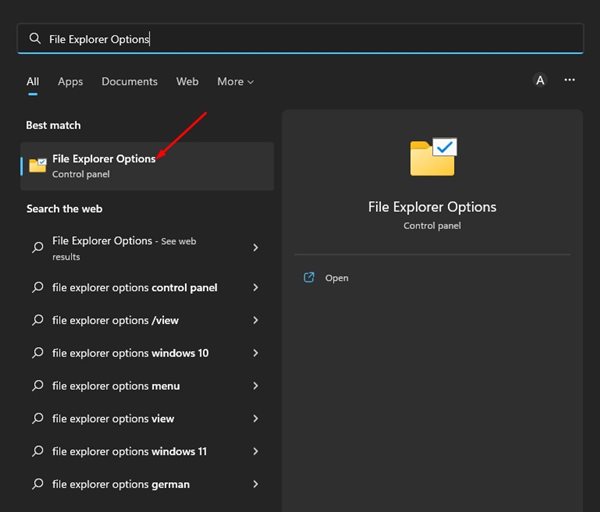
Click the Windows 11 search and type in File Explorer options.
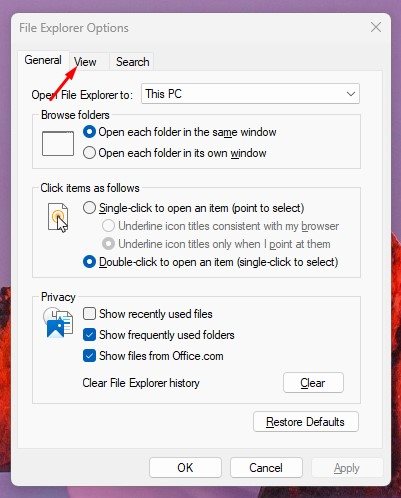
On the File Explorer options, switch to the View tab as shown below.
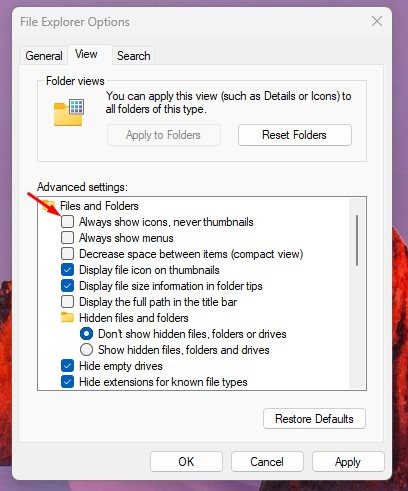
On the Advanced settings, uncheck the ‘Always show icons, never thumbnails’.
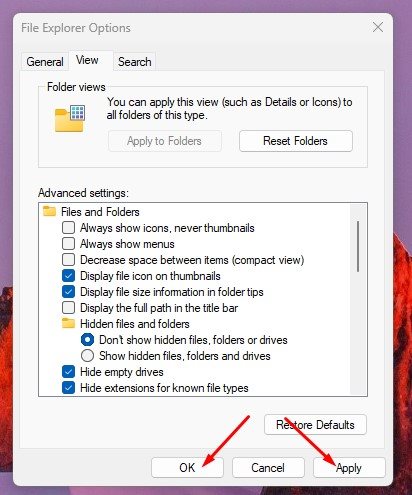
Once done, click on the Apply button then on Ok.
That’s it! This is how you can enable Thumbnails on your Windows 11.
2) Clear Thumbnail Cache via Disk Cleanup Utility
In this method, we will use the Disk Cleanup utility to clear the Thumbnail cache. You need to follow some of the simple steps we have shared below.
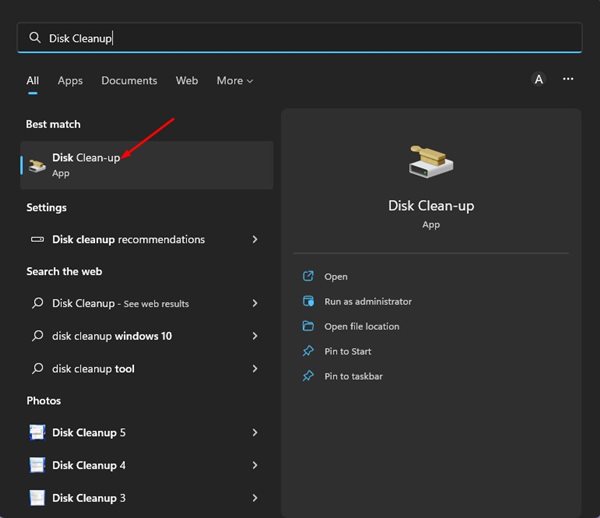
First, click on the Windows 11 search and type in Disk Cleanup. Next, open the Disk Cleanup utility from the list of matching results.
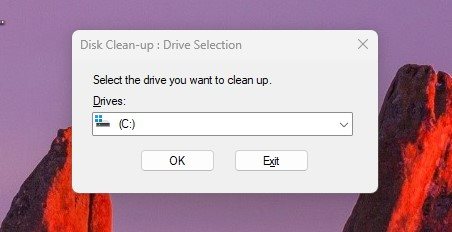
Select the system installation drive and click on the Ok button.
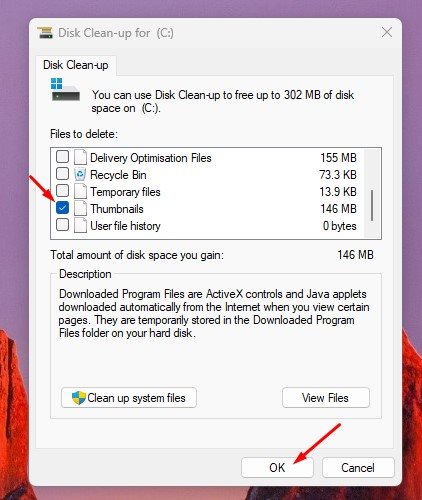
On the File to delete a section, scroll down and check the Thumbnails option. Make sure to uncheck all other options.
Once done, click the Ok button to run the cleanup process. That’s it! This will instantly clear ann thumbnail cache stored on your drive.
3) Clear Thumbnail Cache via Command Prompt
You can also utilize the Command Prompt utility for clearing the Thumbnail cache stored on your Windows 11. You need to follow some of the simple steps we have shared below.
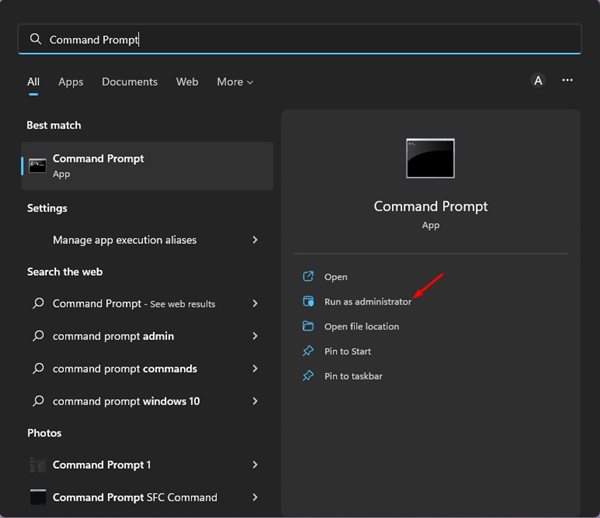
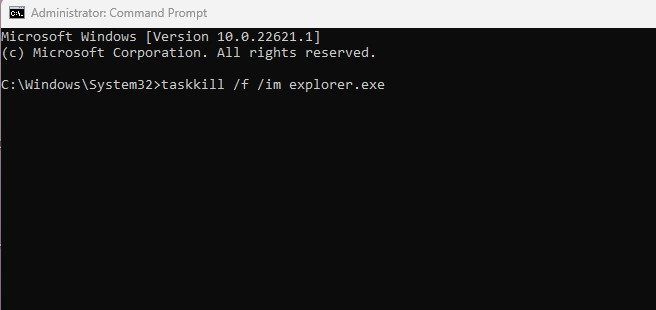
Click on the Windows 11 search and type in Command Prompt. Next, right-click on the Command Prompt and select Run as administrator.
On the Command Prompt, execute the commands one by one: taskkill /f /im explorer.exe del /f /s /q /a %LocalAppData%\Microsoft\Windows\Explorer\thumbcache_*.db start explorer.exe
The above three comments will stop the Windows explorer process, the second one will clear the thumbnail cache, and the third one will start Windows explorer again. That’s it! This is how you can clear and reset the thumbnail cache in Windows 11 via Command Prompt. Also read: How to Delete Downloaded & Pending Updates in Windows 11 So, these are the few best ways to clear and reset the thumbnail cache on Windows 11 computer. These methods will fix missing thumbnail problems on your Windows 11 computer. If you’re stuck in the steps, let us know in the comments below.