There are times when the default fonts just aren’t enough. At that time, you have the option to install third-party fonts from various sources on your Windows 11. So, if you are not satisfied with the default Windows 11 fonts and want to add a new one, you are reading the right guide.
4 Methods to Download & Install Fonts on Windows 11
In this article, we will share a detailed guide on installing fonts on Windows 11. So, let’s check out.
1) How to Download Fonts on your pc
Well, if you want to install third-party fonts on your system, you first need to find a source to download fonts. As of now, there are hundreds of websites available on the web that provides users with free fonts. You can easily download fonts for your PC and install them on your Windows 11. So, the first step includes downloading fonts for Windows 11. The font file that you will download will be either in ZIP or RAR format. Hence, after downloading the fonts, you need to extract the file to get the actual font file.
2) How to Install Fonts on Windows 11?
After downloading the fonts, the next step includes installing the fonts. The fonts files were usually made available in the ZIP or RAR format. So, you need to use a file compressor utility to open those files. Here are some of the simple steps that you need to follow.
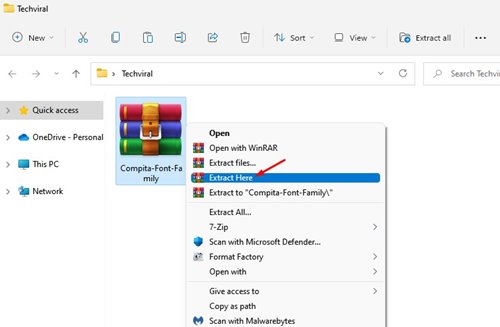
First of all, right-click on the ZIP/RAR file that you have downloaded and select the ‘Extract files’ or ‘Extract here’ option.
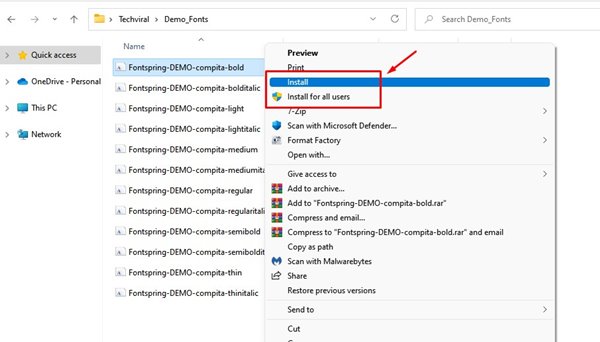
Once extracted, open the folder with the font name as the title.
Right-click on the Font file and select either the Install or Install for all users option.
That’s it! You are done. This will install the new font on your Windows 11 operating system in no time.
3) Install Fonts from the Control Panel
You can install Fonts on your Windows 11 computer via Control Panel as well. To install fonts from the control panel, you need to follow some simple steps below.
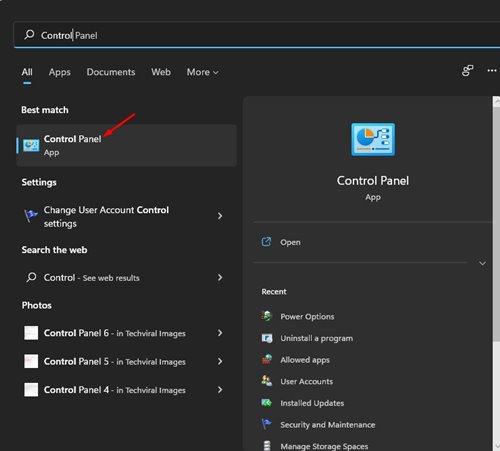
First of all, open the Windows 11 search and type in Control Panel. Then, open Control Panel from the list.
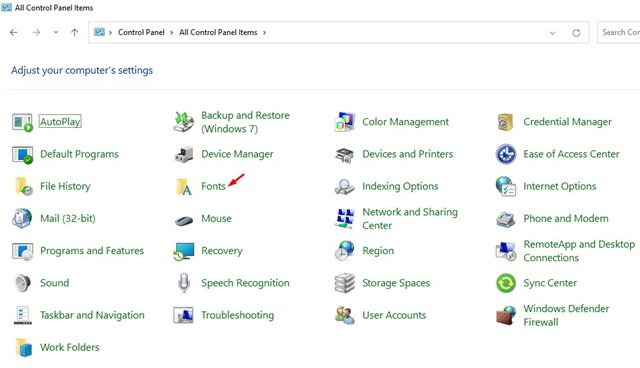
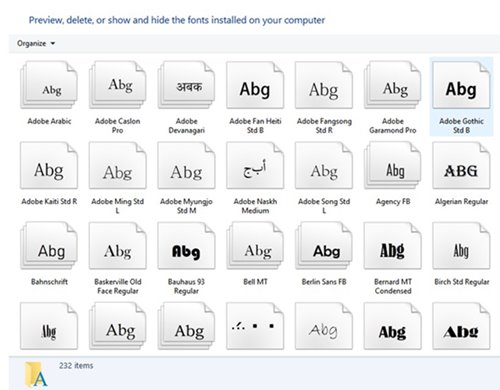
On the Control Panel, click on the Fonts option as shown below.
To install your font, open the Font file you have downloaded. Now drag and drop the font file into the Font folder.
That’s it! You are done. The font will be installed within a few seconds.
4) Installing Fonts on Windows 11 via Settings
In this method, we are going to utilize the Font Settings app to install the fonts. Follow some of the simple steps shared below.
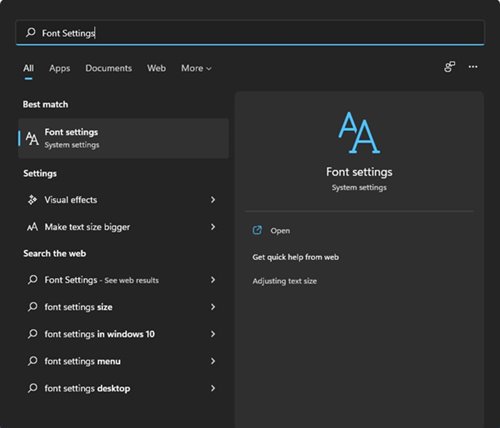
First of all, open the Windows 11 search and type in Font Settings. Open Font Settings from the list.
On the right, you will see a Drag and drop to install option.
Here, you need to drag and drop the font into the rectangular box.
This will install the font on your Windows 11 system within a few seconds. You can now set the newly installed font as default on your Windows 11. We have listed all possible ways to install fonts on Windows 11 operating system. If you know of any other methods to install fonts on Windows 11, let us know in the comment box below. If this article helped you! Please share it with your friends also.