Also, many users didn’t like the new Windows 11 start menu at all. For those users, we have written this article. In this article, we will share a step-by-step guide on how to get back the old classic start menu in Windows 11. Before following the method, please note that if you are using the first preview build of Windows 11, you can modify some registry settings to bring back the classic start menu. Also Read: How to Trim a Video in Windows 11 Without Installing any App
Steps to Get the Classic Start Menu Back in Windows 11
However, the process is quite complicated, and the hack was removed on the second preview build of Windows 11. So, in this article, we have used the Start11 application to switch to the classic start menu in Windows 11.
Using Start11
Well, Start11 is a premium program for Windows 11 that brings a classic Windows 10 start menu. The program is still in the beta version. To test the beta version, you need to spend $5. Spending $5 on a Start menu program is a bit of a gamble because Windows 11 is still in the development phase. It’s most likely that in the future build of Windows 11, Microsoft will provide you a direct option to switch back to the classic Windows 10 start menu.
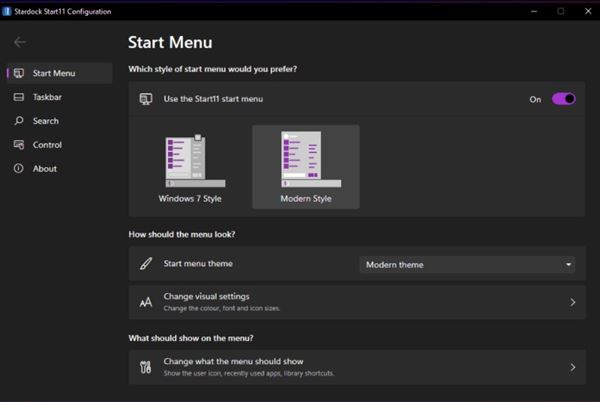
First of all, download & install Start11 on your computer. Once installed, launch Start11 on your computer and make the customization. You will get two different types of Start menu options – Windows 7 style and Modern Style.
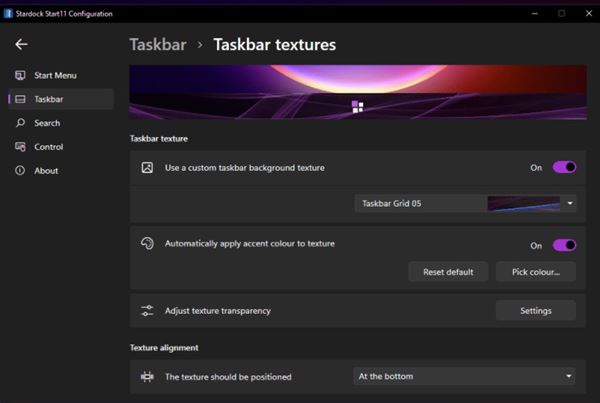
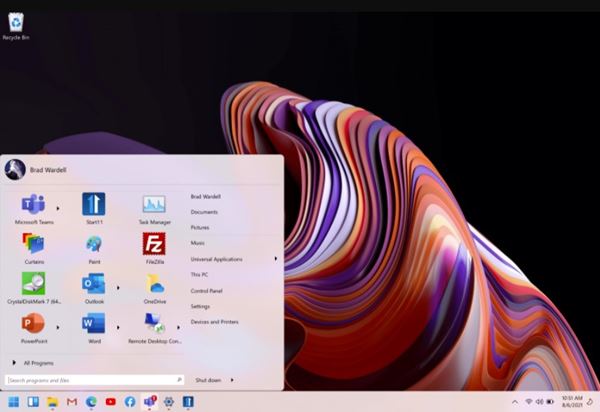
To apply the Windows 10 style start menu, select the Modern Style. Next, switch to the Taskbar tab to make other Start Menu and taskbar customization.
That’s it! You are done. It’s pretty easy to switch to the Classic Windows 10 style start menu with Start11.
So, this guide is all about getting back the old classic start menu in Windows 11. I hope this article helped you! Please share it with your friends also. If you have any doubts related to this, let us know in the comment box below.


